
Getting kids ready for college is not just about making sure they have nice clothes and the required textbooks. In many cases, it is a young person’s first experience with independent living. Whether the kids go off to live in an apartment, or in a dormitory, they may be short on cooking equipment. As a result, parents may worry their children aren’t getting nutritious meals. One thing you can do is teach your soon-to-be college student how to make grilled sandwiches or quesadillas with a clothes iron.
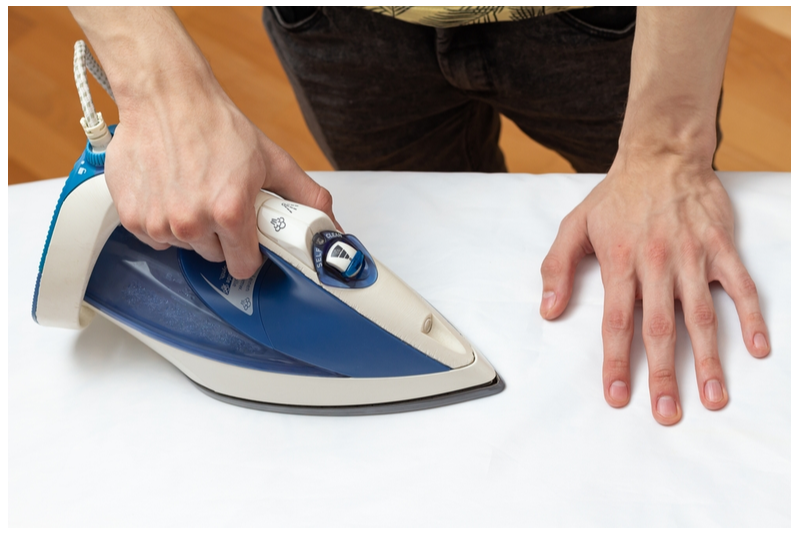
A clothes iron can fast become an indispensable appliance for a new college student. An iron can be bought for cheap and it’s small enough to easily schlep around. For first-time independent living, the iron serves a dual purpose: keeping your clothes wrinkle free, and yes—making hot meals.
The classic PB&J is easy and ever popular. A trained seal could make it, and the ingredients keep. Even jelly will stay fresh at room temperature, for at least a month (more if their favorite brand is unfortunately high in sugar). But you can double your kid’s dorm room dining repertoire, by making grilled PB&J with the aforementioned handy-dandy clothes iron.
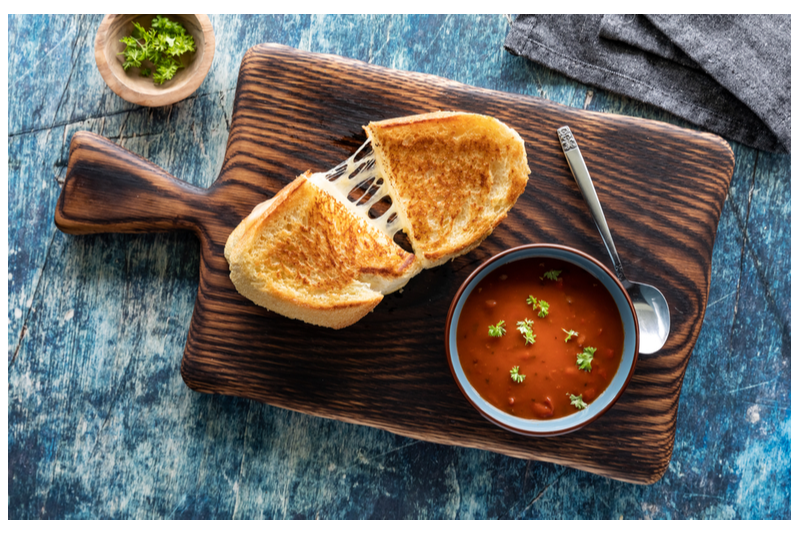
Grilled peanut butter and jelly sandwiches are not the only food college kids can prepare with a clothes iron. Grilled cheese sandwiches and quesadillas can be prepared the same way, with different ingredients. In fact, any combination of ingredients and sandwich breads and wraps can be used to create and endless variety of quick, hot meals.
Getting Kids Ready for College—Sweet Solutions
A great way to up the protein content of grilled cheese is to turn it into a tuna melt, with the addition of some tuna mixed with mayo. Students can get hungry in the middle of studying for an exam. A clothes iron grilled brown sugar and butter sliced banana pie is the quick, sweet solution. Add a sprinkle of cinnamon or nutmeg or substitute butterscotch, caramel sauce, or Nutella for the brown sugar for a different flavor profile.
As every clothes iron is a bit different, there may be a bit of a learning curve. If the basic two minutes a side isn’t long enough to cook the sandwich through, do it half a minute longer next time, and so forth. When your kid finds their inner Gordon Ramsay, and the sweet spot for timing clothes iron sandwiches, it can feel like a huge triumph.
 Learning how to prepare food can be an important part of getting kids ready for college. Teaching your child how to make a hot sandwich is something you can do to help, when you may feel like your only power is your purchasing power. Knowing how to make a meal, meanwhile can build your college student’s self-confidence, when everything is new, and maybe a little scary. In this situation, the clothes iron can be a godsend for both of you. What follows are some basic instructions.

Clothes Iron Sandwiches Master Recipe
To make clothes iron sandwiches, you will need the following:
- An iron
- Aluminum foil
- Spreading knife
- Cutting knife
- Spoon
- 2 slices of bread, 1 pita, or 2 tortillas
- Salted butter
- Filling of choice
Classic Clothes Iron Sandwiches
Choose from among the following classic sandwich filling variations, or create your own:
Grilled cheese and tomato: sliced cheese, tomato slices, red pepper flakes
Tuna melt: tuna mixed with mayonnaise, sliced cheese
Quesadilla: use sliced cheese in between two tortillas, serve with salsa
Grilled PB&J: peanut or other nut butter, grape or other jelly
Banana pie: ripe banana slices, a pat of butter, and 2 tablespoons of brown sugar
Instructions:
- Turn on the clothes iron, set to cotton, and let it get hot
- Place a square of aluminum foil large enough for preparing and wrapping the sandwich on a table or other suitable work surface.
- Place a pat of butter in the middle of the foil. Lay the first slice of bread on top of the butter. Add filling of choice. Close sandwich with second bread slice. Top with another pat of butter. Wrap sandwich in the foil, to seal.
- Place the heated iron on the top of the sandwich and allow it to cook for 2-4 minutes. Density matters here. A pita is denser and may take longer. A tortilla is thin and may need less time to heat through and melt the cheese. Turn the sandwich over and repeat.
- Unwrap, slice if necessary, and serve.
Notes: For a pita sandwich take a thin slice off the top of a pita and carefully insert hand to widen the pocket. Add filling, but don’t fill too full—you don’t want the filling to ooze out the top. For a quesadilla, substitute 2 quesadillas for the 2 slices of bread.
Varda Meyers Epstein serves as editor in chief of Kars4Kids Parenting. A native of Pittsburgh, Pennsylvania, Varda is the mother of 12 children and is also a grandmother of 12. Her work has been published in The Washington Post, The Huffington Post, The Learning Site, The eLearning Site, and Internet4Classrooms.